Put a little work in the last remaining parts today. Gauntlets and jacket. Didn't finish either but glue is drying and I don't want to rush them. A bit sad that I had to cut up and alter my gauntlets, but in looking at them, they do need to be more accurate, and if I can work with them, I can make them even better.
Started out saying goodbye to them with a pic of their current form:
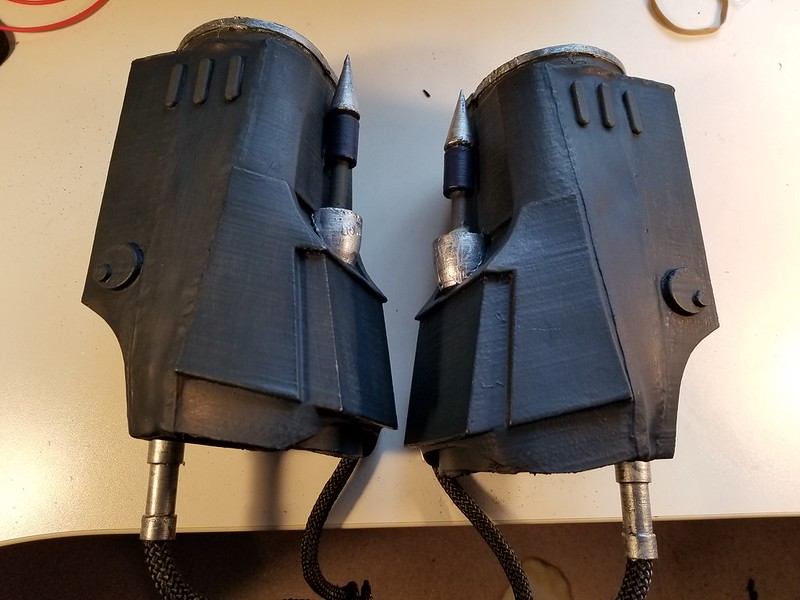 20180204_102615
 by
Michael Halstead, on Flickr
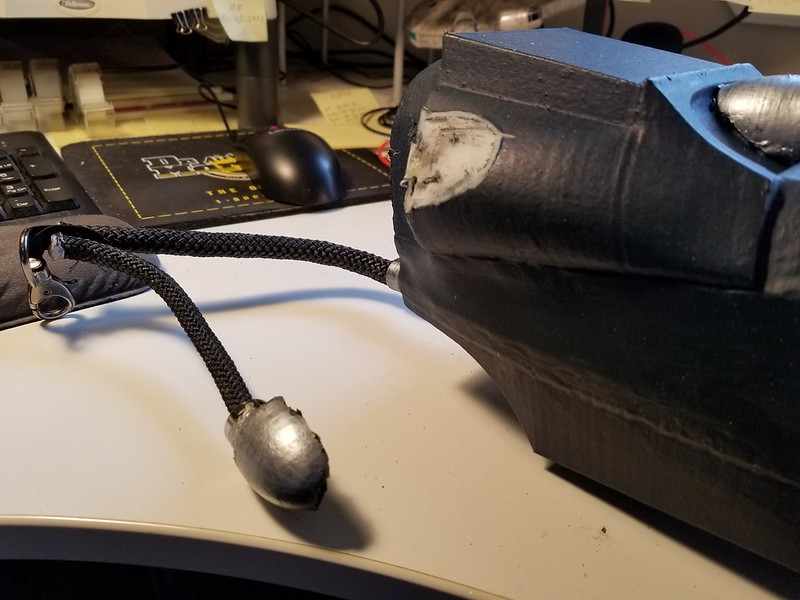
Then, I started cutting them up. The tool I used most in this build is certainly the Dremel, so I started with cutting off the lower hose assembly as that needs to move up about an inch.
 20180204_105552
 by
Michael Halstead, on Flickr
 20180204_105732
 by
Michael Halstead, on Flickr
Then I cut off the darts, as they both need work as well:
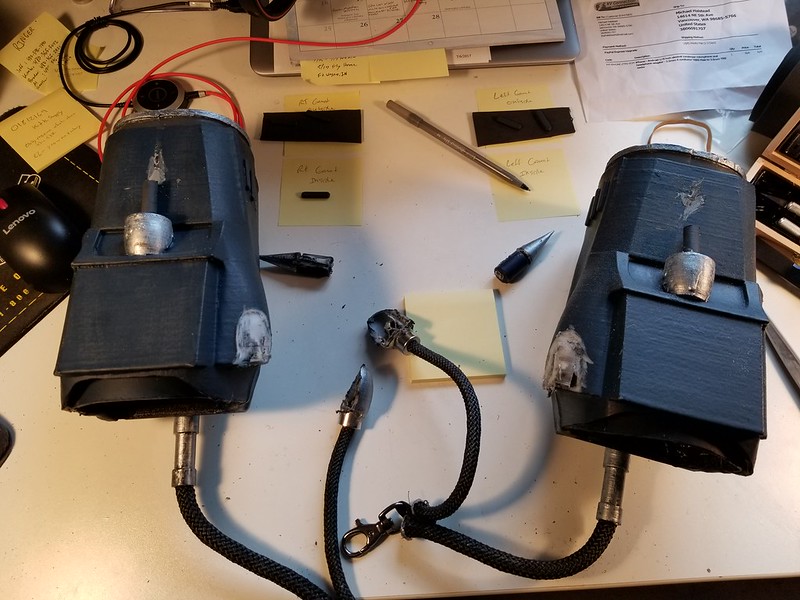 20180204_111402
 by
Michael Halstead, on Flickr
I also had to remove two of the electroshock emitters, as two of them need to be moved. This is where I got confused and removed the wrong one first, on each gauntlet. Said some choice words, and then removed the correct one! Whoops!
I then had to shave off the "buttons" on one of the gauntlets as they were reversed and need to be switched around. Will have to build new buttons out of worbla and remount them and fill the holes.
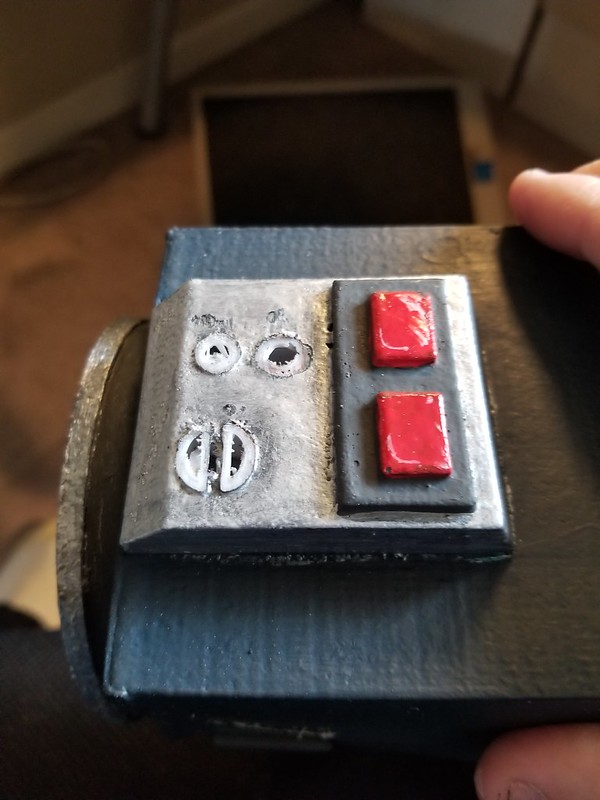 20180204_112034
 by
Michael Halstead, on Flickr
The wrap around detail on the bottom of the gauntlets need to come up further. This error in my initial build occurred when I couldn't get the original gauntlets to fit and had to mount them to the PVC pipe. This stretched the gauntlets vertically, but I didn't stretch any of the details. For this, my first effort to repair is to cut some craft foam to the right size and attach it with E6000 and then I'm going to see if I can use gesso to fill in the gap between the original gauntlet and the foam piece. The gesso will also allow the foam to take paint better (wood glue would also probably work for this).
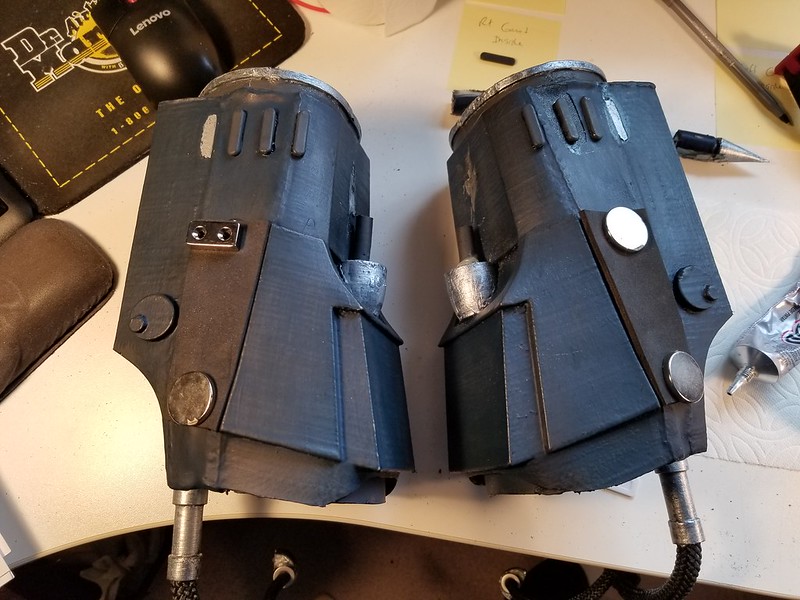 20180204_113308
 by
Michael Halstead, on Flickr
Once that side dried (which is much quicker with foam than it dries when you are just gluing ABS), I did the other side. This side has a slope to it, and is the inside portion of the gauntlet. You can see the electroshock emitter has been moved in this picture (the three lines near the cuff).
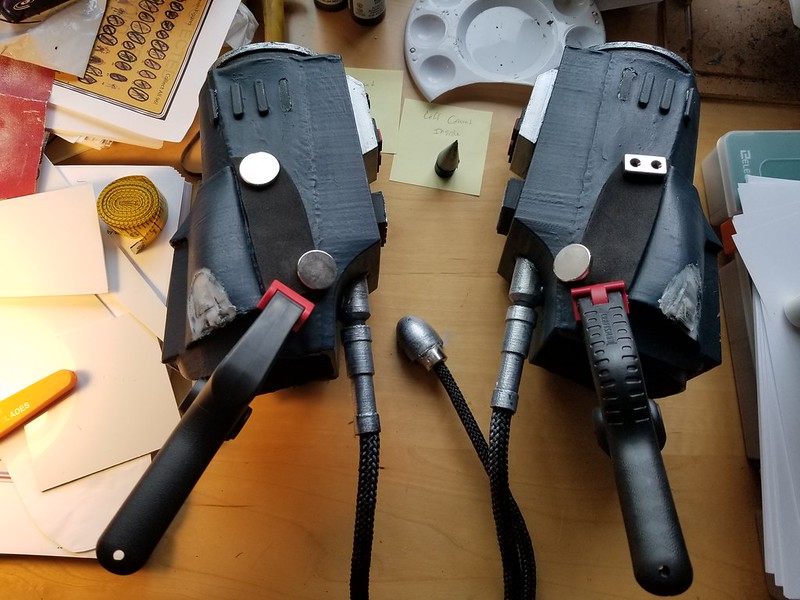 20180204_123715
 by
Michael Halstead, on Flickr
That may be as far as I am going to get before the big sports game! As a list for myself, I still need to:
1. Build up the lower, forearm end.
2. Shave down the darts and remount them.
3. Correct the main hose insertion point at the back of the gauntlet.
4. Reattach the secondary hoses about an inch higher than they were.
5. Build the buttons for the top of the one gauntlet.
6. Fill in the holes created by removing the secondary hoses.
7. See if I can use gesso to smooth out the transitions between materials and to make the gaps between the original gauntlets and the foam disappear.
8. Perhaps hit them with plasti-dip again so that they are all one material on the surface.
9. Repaint the main gauntlets the color they were.
10. Paint the side discs a drybrush of black with the smaller disk slightly lighter.
11. Paint the electroshock emitters silver metallic/brass/black drybrushing.
12. Paint the circles that I have to build and anything else that gets messed up in the plasti-dip process.
So, not really all that much once stuff dries... Really hopeful that I can get them to work and not have to start over.
I also spent a little time while glue was drying to work on my duster. The sleeves were pointed and they need to be rounded, so I cut them off and sewed them back shut:
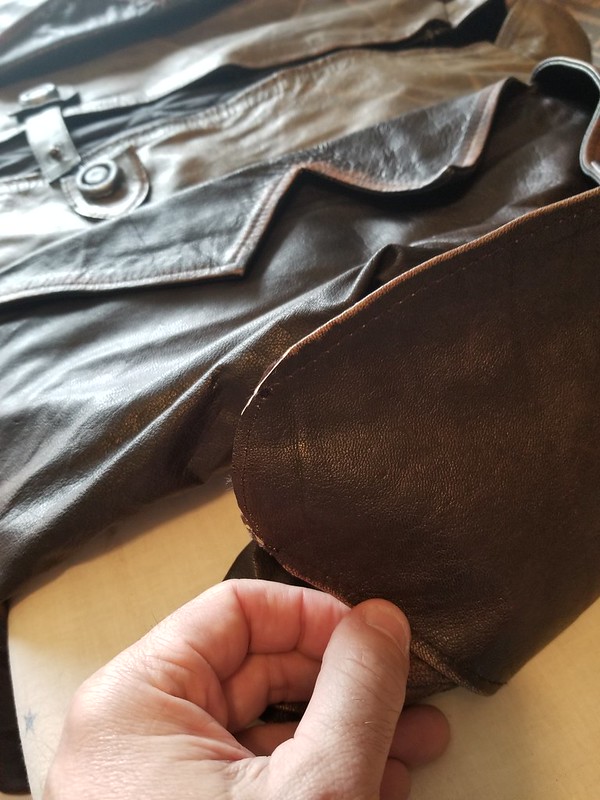 20180204_121106
 by
Michael Halstead, on Flickr
 20180204_121116
 by
Michael Halstead, on Flickr
The slight discoloration on the end will not matter as I have to weather the whole jacket, so I can just paint the leather at the ends a darker color to hide that the leather has been cut.
The front of the coat needed to close more. The flaps were pretty floppy, so they would move around and they are open too far, so I went the easy route and just slathered them with leather glue and I am going to just force them into place. If the leather glue keeps them where they are supposed to be, it's one less possible part that can wardrobe malfunction.
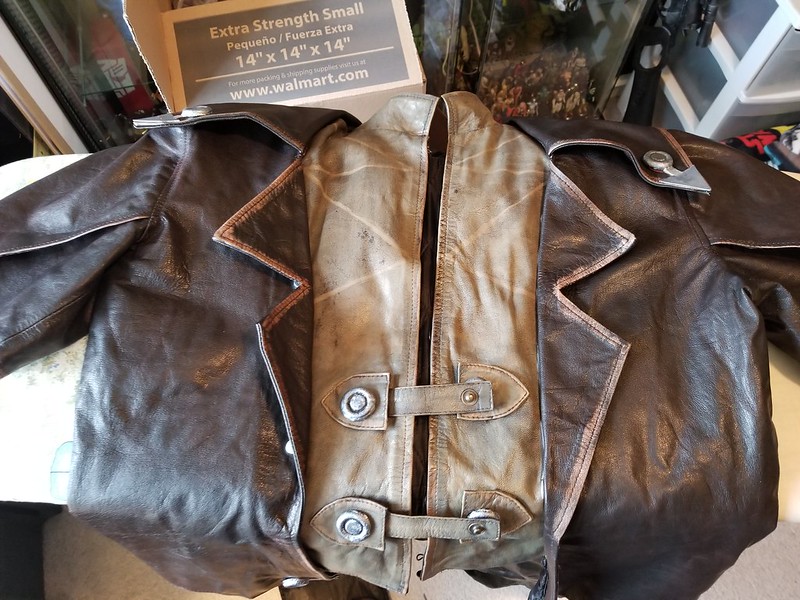 20180204_121639
 by
Michael Halstead, on Flickr
This has the added effect of making the triangle flaps at the front the right size. I may need to cut the bottom one a bit, but am going to wait and see if this corrects them enough.
The last thing the duster needs is better weathering. I'm going to let this dry and then see what I can do to match the reference material with my weathering.
So, that's about the list of remaining items I need to finish in order to resubmit. Seeing a light at the end of the tunnel. Anybody reading this anymore? LOL
I also started working on the voice. That was one of the main reasons I wanted to do this character, so I am going to have to sound like him. No question. I bought a condenser microphone and an adapter for an iPhone and I am going to see about getting the app VoiceSynth. I have heard that you can get a pretty good Cad Bane voice through that app, but if anybody has any experience with it, please let me know. I'm not sure what I need the settings to be, so it's going to be a lot of trial and error. Should be fun though.